How To Convert a Bus into a Travelling Tiny Home – Part Two
Getting into the nitty gritty – sometimes literally.
Ok, so in the last article we covered the first steps of converting a bus into a travelling tiny home. If you missed it, you can check it out here. In a nutshell, that article covered the planning stage, and the things you should think about before you lay down your wad of cash for a bus.
We will keep going to the next stages in this article. So seriously, if you haven’t already, read this one first (or this article won’t make sense).
And away we go…
Step 4: Let’s get messy.
Let’s assume the following: you did your research, did your googling, waited and hunted until you found the right bus for you. You went and saw it in person, did some haggling and bought it in your price range. You either drove it home (hopefully) or transported it somewhere safe you could work on it. You have the thing, just sitting there waiting for you to transform it into something liveable.
Now what?
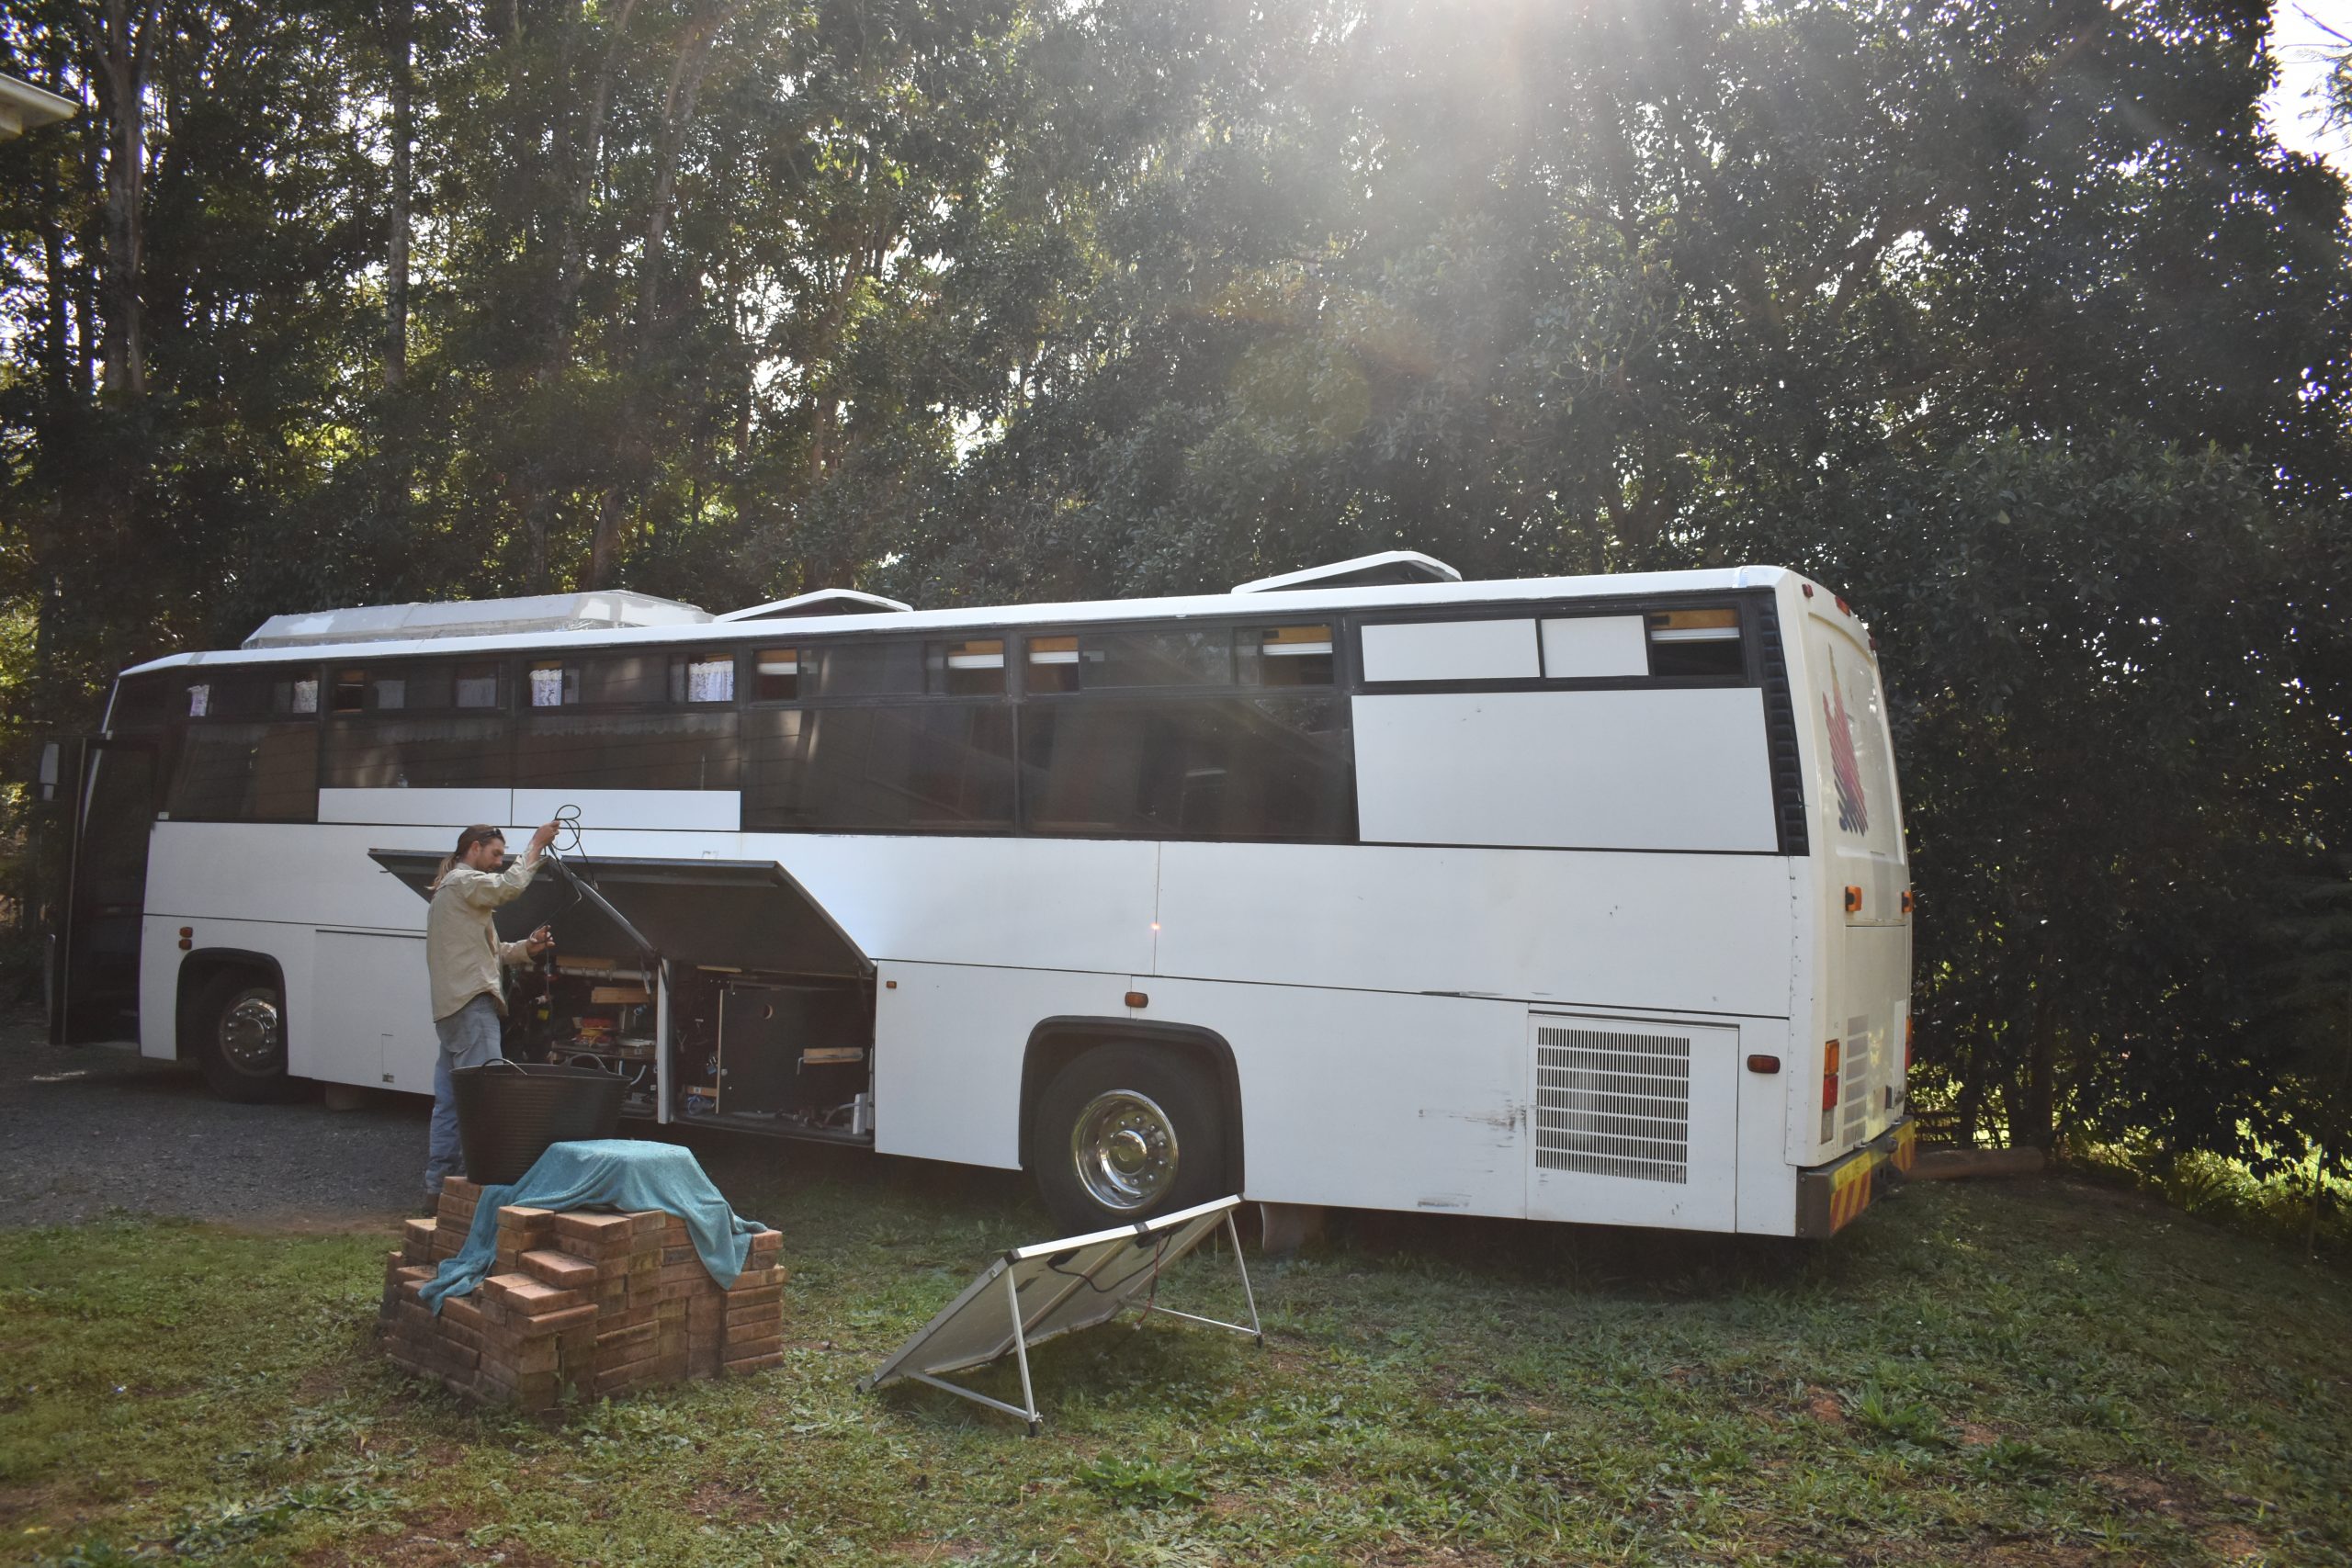
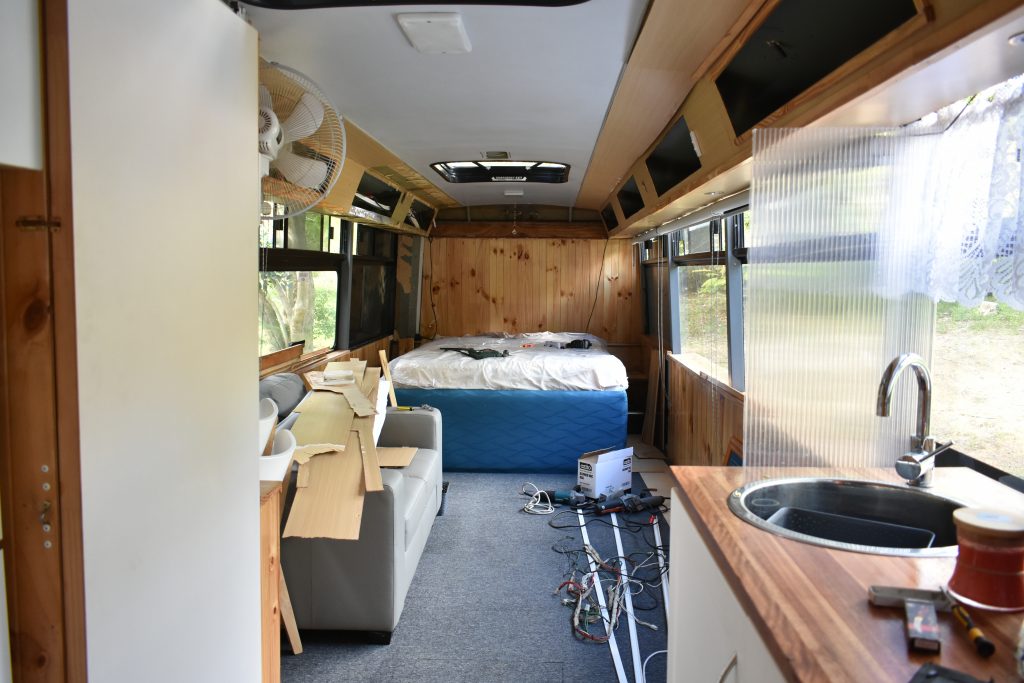
This is (in my opinion) the fun and easy part. Now you get to strip it out to its bones and see what your new pride and joy is made of (wait, what?). Yeah, you heard. It’s time to go ham in removing the innards, nearly everything until you see the shell of the inside.
This step is up to you (and your time frame and budget) in how hard you want to go. In my opinion (as in, if I was to convert another bus and had the time and money) I would remove everything until I could see the external walls, roof and floor from the inside. In doing this, you can easily see any rust and holes, and it’s far easier to add insulation, wiring and to customise it in the way you want. I would also remove the glass windows and windshield – it’s easier to modify the walls without worrying about breaking them, and to get them refitted and resealed later is cost effective and gives you peace of mind.
At the very least, you should remove the seats and the carpet and/or flooring until you see the sub-floor. If there’s any old upholstery or carpet on the internal walls and window pillars, I recommend removing that as well. It’s (probably) old, ugly and full of other people’s germs and boogers.
If you want practical advice or step-by-step instructions on how to do this, there should be plenty of information online if you’re lucky enough to find the make and model of the bus you’re converting. However, I’m a big fan of the “just try it and figure it out for yourself” method. This method teaches you (maybe) new skills and challenges your problem-solving ability. Seriously, grab a spanner or similar and get to it. It’s worth it in the end.
Once you’ve gutted it until you’re satisfied, on to the next step.
Step 5: Repairs and major modifications.
You have your shell, now you can see if there’s any damage. Is there major rust that needs to be cut out? Major rust is rust that is causing or may cause structural damage. Can you poke a screwdriver through it? If you can, it needs to be fixed. (Any rust should be fixed regardless but fix the major stuff first).
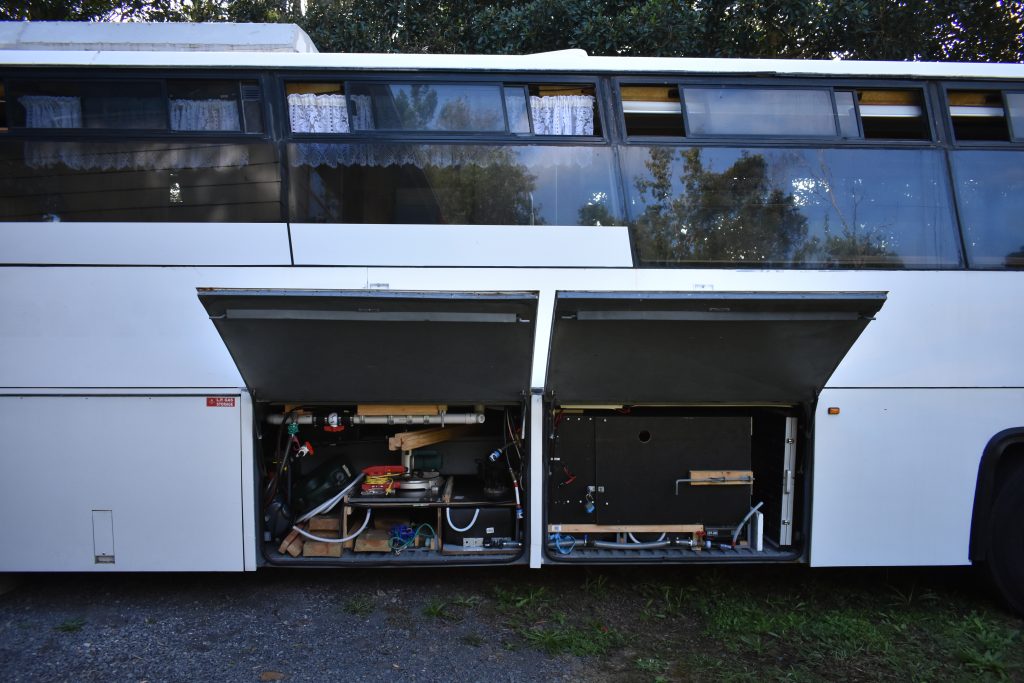
Any large modifications you have planned can be done now. You could lift the roof, lower the floor, put a skylight in, close-in window space, put supports in for a roof-top deck … you are only limited by your imagination, time and budget. But now is the time to be doing those things, because it’s easier to do this in the empty shell, trust me. Working on your bus while it’s full and you’re living in it, not fun.
While you’re fixing rust and making modifications, you can also be doing the next step at the same time.
Step 6: More Planning
Ha, and I bet you thought you were finished with the planning, didn’t you? WRONG!!
Now you have your shell, your blank canvas, it’s time to put your grey matter to work again. This time, you need to start thinking about how you want your bus to look and function. It helps at this point to get a tape, pencil and paper and to draw a floorplan of your empty bus. How long and how wide, and how much “living space” do you have to work with?
When you have your drawing, make duplicates. Because now you can draw and design your tiny home-bus bus on paper, and you might not get it right the first time. Take a couple of goes at it, take a few swings and see what you can come up with.
Things to keep in mind: where do you want areas and things to go (where will the kitchen be, where is the bedroom) and how big do you want them? Are you going to have a bathroom? Are you going to have a lounge room? If you’re running wires and plumbing, where can they go and is there a convenient way to arrange the bus for that (like have the kitchen and bathroom close so that you use less pipes etc.). Where do you want windows? Where do you want clear glass or frosted (opaque) glass? Where do you want power outlets? Where and what kind of lighting do you want?
Something else to consider as you’re planning this: you should assume that the roof, walls and floor (if you decided to strip the bus back to metal shell) will be a few inches thicker than what they are now. Once you add insulation (you’ll want to add insulation, trust me) and internal trim, you’ll sacrifice living space. It’s a fair trade.
Speaking of, that’s something else you need to think about now. What are you going to use as substrates/backing, and what will you use for insulation? The subject of insulation alone is too long for this article (maybe I’ll do one on it down the track), but you should insulate your bus/tiny home as best as you can.
IMPORTANT: you should also think about and plan for fire/emergency now as well. You should have multiple emergency exits and have ready access to fire extinguishers. If a fire started between you and the door, how will you get out? If the bus rolls over onto its side or roof, can you exit safely?
Note: if you’re a bit stuck on details or just want inspiration, there are plenty of pictures of bus conversions online, either through google, Pinterest or Instagram.
Step 7: Marking it all out
If and when you’ve wrapped your head around all that (being honest, I’m probably forgetting some stuff, let me know if I have), you can now mark out your future tiny home onto the floor of the bus. Try to be as exact as possible. Mark out where the interior walls will be and how thick you will make them. Mark out the living areas, the amenities and any cupboards or storage areas on the floor. Mark out where the “doors” (entry/exit) to each room is. Try to see it all in your mind’s eye and imagine how it will look and feel once it’s done. Try and get some kind of image formed about how it will feel and how you will move around the space after it’s all built.
For example, stand in the bedroom area and try and move to the kitchen area stepping only where you have marked possible. Is the kitchen easy to get to? Imagine standing in the kitchen to prepare a meal, or wash dishes. Is the fridge close? How’s the view from the sink? Will you have overhead storage in the kitchen, and if you do will you hit your head on it?
Try to go through all the various actions you (and your family) will routinely perform throughout the course of an average day and see if you can think of ways to make them easier. For example, can you make the fridge closer to the food-prep area?
Wow, this is longer than I thought.
In effort to make these articles as readable (yes, that is a word) as possible, that’s where I’ll leave you for now.
Because it’s a lot to wrap your head around, and you will want to do it once and do it right the first time. It saves time, money and grey hairs down the road.
Until next time,
Stay Wild and Free,
-Aaron and Chiara.